Utah winters don’t mess around. One hard freeze can turn a small drip into a burst pipe, a cracked backflow preventer, or a sprinkler repair bill you didn’t plan for. The good news? A quick fall winterization saves money, stress, and spring surprises. Here’s the friendly, no-drama guide for Utah homeowners.
When Should You Winterize in Utah?
Aim to button things up before the first hard freeze—typically late October to early November (earlier in higher elevations). If you’ve already had a frost, don’t panic; winterize now to prevent further damage.
Step 1: Winterize Exterior Faucets (Hose Bibs)
- Disconnect hoses. Drain and store them; a hose left on the spigot traps water and can crack the faucet.
- Shut off the interior valve. Find the interior shut-off labeled for the outdoor faucet (often a “stop & waste” valve). Turn it off.
- Drain the line. Open the exterior faucet to let water out. If your interior valve has a waste cap, open it briefly to release trapped water.
- Leave the exterior faucet slightly open. This relieves pressure as temperatures swing.
- Add a foam cover. In exposed or windy spots, insulated faucet covers add a layer of protection.
Note on “frost-free” faucets: They’re more resistant—but not freeze-proof if a hose is still attached or the pipe isn’t pitched correctly. Treat them with the same care.
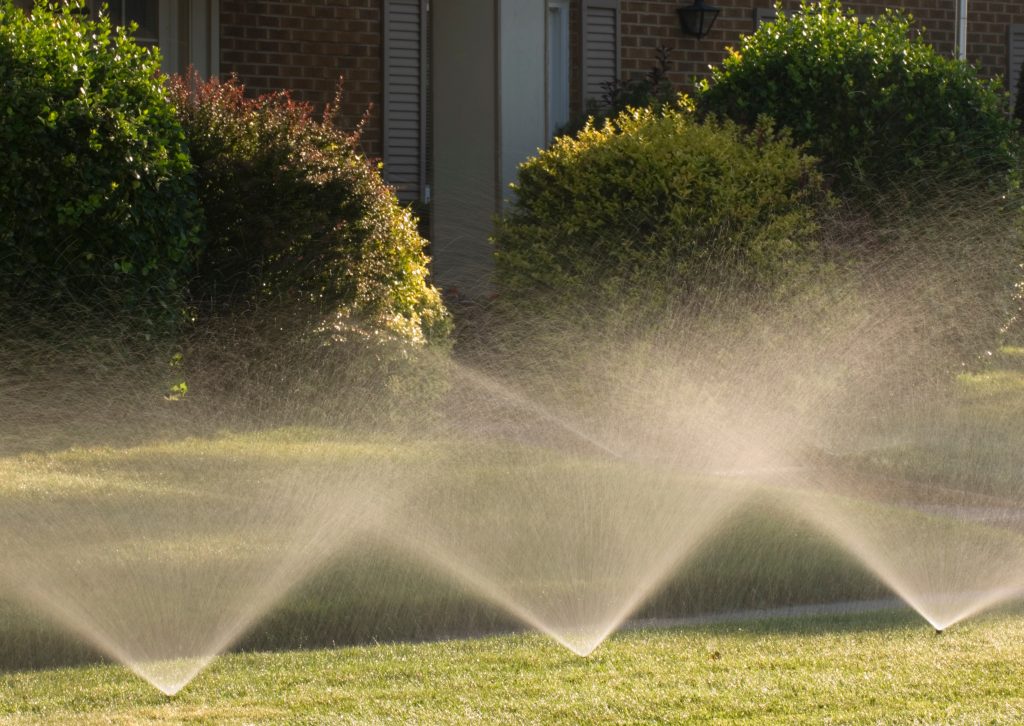
Step 2: Winterize Your Sprinkler System (Blowout Method)
- Shut off the irrigation water supply. This is the interior shut-off feeding your sprinkler line.
- Drain the backflow preventer (PVB/RP).
- Turn both isolation valves (the two handles) to 45°—this helps water drain.
- Open the small test cocks with a screwdriver to release water (a slow trickle is normal).
- Attach a compressor to the blowout port (usually near the backflow or manifold). Use a regulator.
- Blow out one zone at a time.
- Keep pressure modest: generally 40–60 PSI for residential systems (check your manufacturer’s specs and pipe type).
- Run each zone until fine mist stops (usually 1–2 minutes), then move on. Don’t deadhead the compressor or over-pressurize.
- Finish and close up. Return test cocks to closed, leave isolation valves at 45° for winter, and label the interior shut-off so nobody accidentally turns it on.
Pro tip: If you’re unsure about your system, hire a pro for the blowout. A cracked backflow preventer can cost far more than a quick service visit.
Common Mistakes to Avoid
- Leaving hoses attached (even to frost-free faucets).
- Skipping the interior shut-off for hose bibs.
- Over-pressurizing during blowout (can damage valves and heads).
- Forgetting the backflow preventer—the #1 cracked component we see each spring.
- Turning the irrigation water back on after winterization (label that valve!).
What You’ll Need
- Adjustable wrench, flathead screwdriver
- Faucet foam covers and extra hose washers
- Air compressor with pressure regulator + blowout adapter
- Replacement furnace/return filters (you’re already in maintenance mode—knock this out, too)
How a Home Warranty Fits In
Winterization is routine maintenance and should be done every fall. Most home warranties don’t cover freeze damage caused by lack of winterization, and sprinkler lines/backflow devices are often excluded. But your plan may help with indoor plumbing issues (like leaks or water heater failures) that arise from normal wear and tear.
Bottom line: Do the winterization, and check your service contract for what’s included, limits/caps, and any trade call fees.
Stay Cozy, Skip the Repairs
A couple of careful steps now can save you hundreds in spring. Winterize your faucets and sprinklers, then kick back and enjoy the snow—without worrying about burst pipes.
Call us at 833-750-6400 to compare plans, or to place an order click here. We’ve got your back, Utah—winter, spring, and everything in between.